
How StoryBoom Transformed My Video Creation Process
July 28, 2025
July 28, 2025
Since 2000, I’ve been building creative tools at Artenergy, a design and digital product agency near San Francisco. From the start, I saw how the right tools unlock creativity and drive results.
Back in 2016, we built a basic storyboarding tool for internal use. Over the years, it evolved through three generations, gradually becoming more refined, versatile, and collaborative. That evolution led to StoryBoom, the storyboarding app we officially launched in 2025 with the mission to cut costs—not creativity, and to help filmmakers and creative teams turn their visions into reality.
So when it came time to create StoryBoom’s first intro video, I naturally turned to our own app to plan it. That decision kicked off a process that didn’t just map out our video—it reshaped how I work and how I think about storytelling.
I started preparing animation graphics. A playful, rocking bomb reveals the logo as it detonates. I split the logo into individual letters and designed five transitions to smoothly animate each one into its designated position. Using Adobe Illustrator, I set up a 16:9, 1920×1080 sequence. Each layer represented a scene, which made the animation clean and flexible for storyboarding.
![]()
I imported the graphics into StoryBoom. The Tile Mode provided a clear overview, while Slide Mode allowed me to check the pacing. These layouts helped me quickly refine all 13 scenes and fine-tune the video flow.
“That initial storyboard, centered on the logo animation, set the visual tone for everything that followed.”
![]()
To plan the full video, I created a 59-scene storyboard in StoryBoom, using the classic ‘Why→How→What’ framework for the script structure.
I worked on a 38 inches ultra-wide display (3840×1600, anamorphic aspect ratio 2.40:1), splitting the screen with StoryBoom on the right and Illustrator (or any support tools) on the left. With StoryBoom’s flexible layout modes—3, 4, 5, 6, up to 10 images per row—I could easily zoom in for detail or zoom out to assess story flow:
Throughout the process, scene descriptions became my scratchpad—ideal for capturing ideas for transitions, visual effects, or voiceovers the moment they arrived.
Real-time collaboration was essential. Our small team (just three of us, including our tech partner) worked closely inside the app, giving one another direct feedback. That immediate input sparked several in-the-moment app improvements—evidence of how rapidly StoryBoom can adapt and evolve alongside the creative needs it supports.
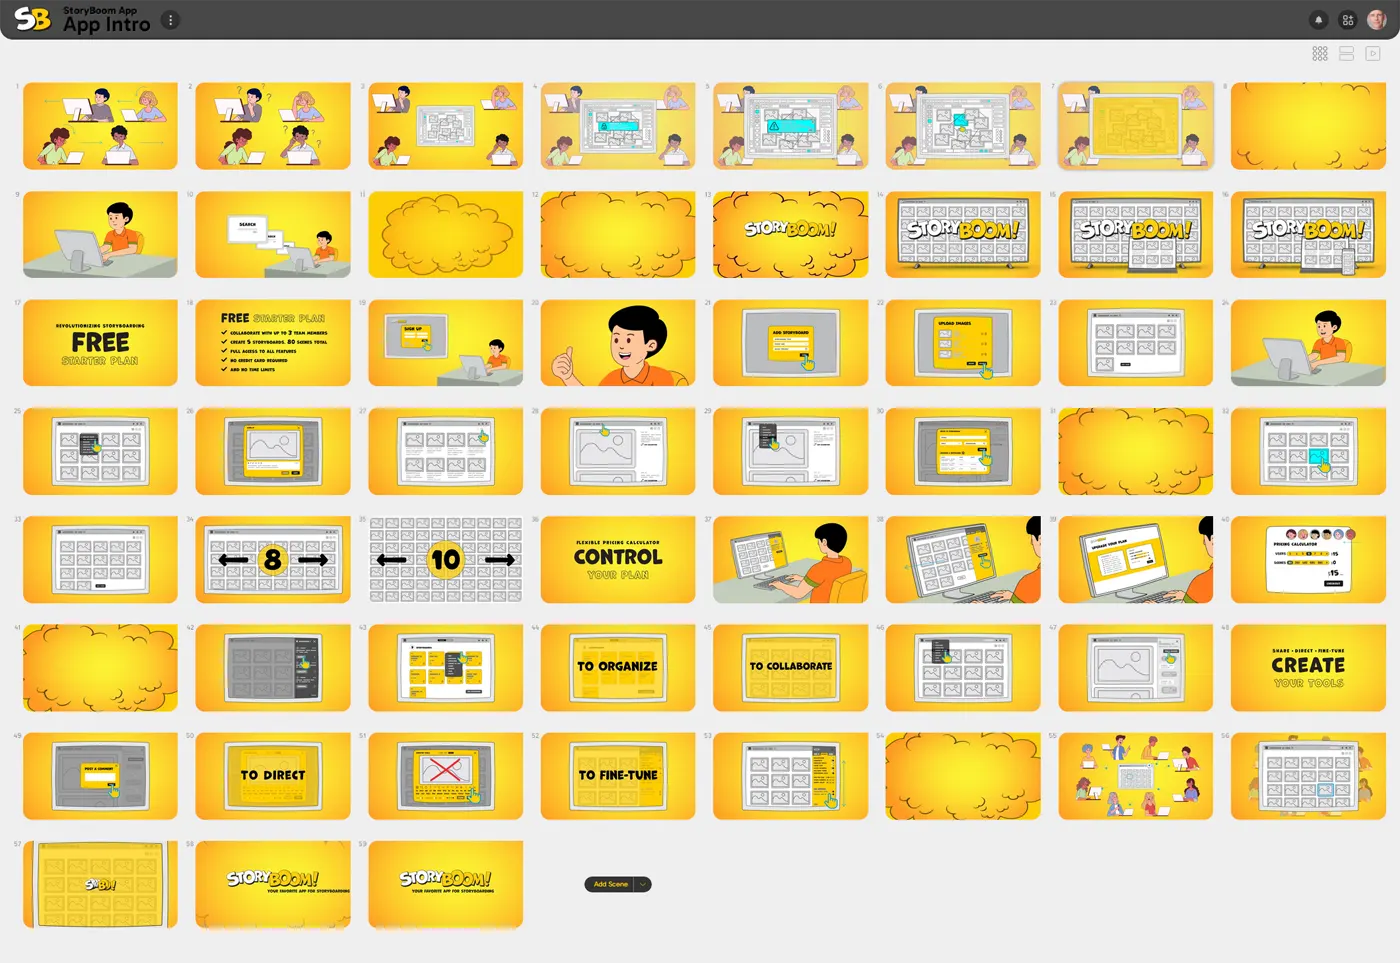
StoryBoom storyboard with an 8-image-per-row layout for the video intro.
In total, creating the storyboard took four days, along with four script revisions to tighten the message. Through it all, StoryBoom’s intuitive design kept me focused, creative, and in flow. It didn’t just help shape the video—it affirmed the app’s real-world value for creators like me.
At first, I considered hiring a video team from India via UpWork. Equipped with a 10-scene script generated with ChatGPT and stock assets, I received a quote: $2,000 for a 45—60-second video in multiple formats. It was steep, especially since I hadn’t yet shared app screenshots, which meant extra effort and explanation. Ultimately, I realized the true creative value came from owning the entire process myself, inspired by the logo animation I had already built.
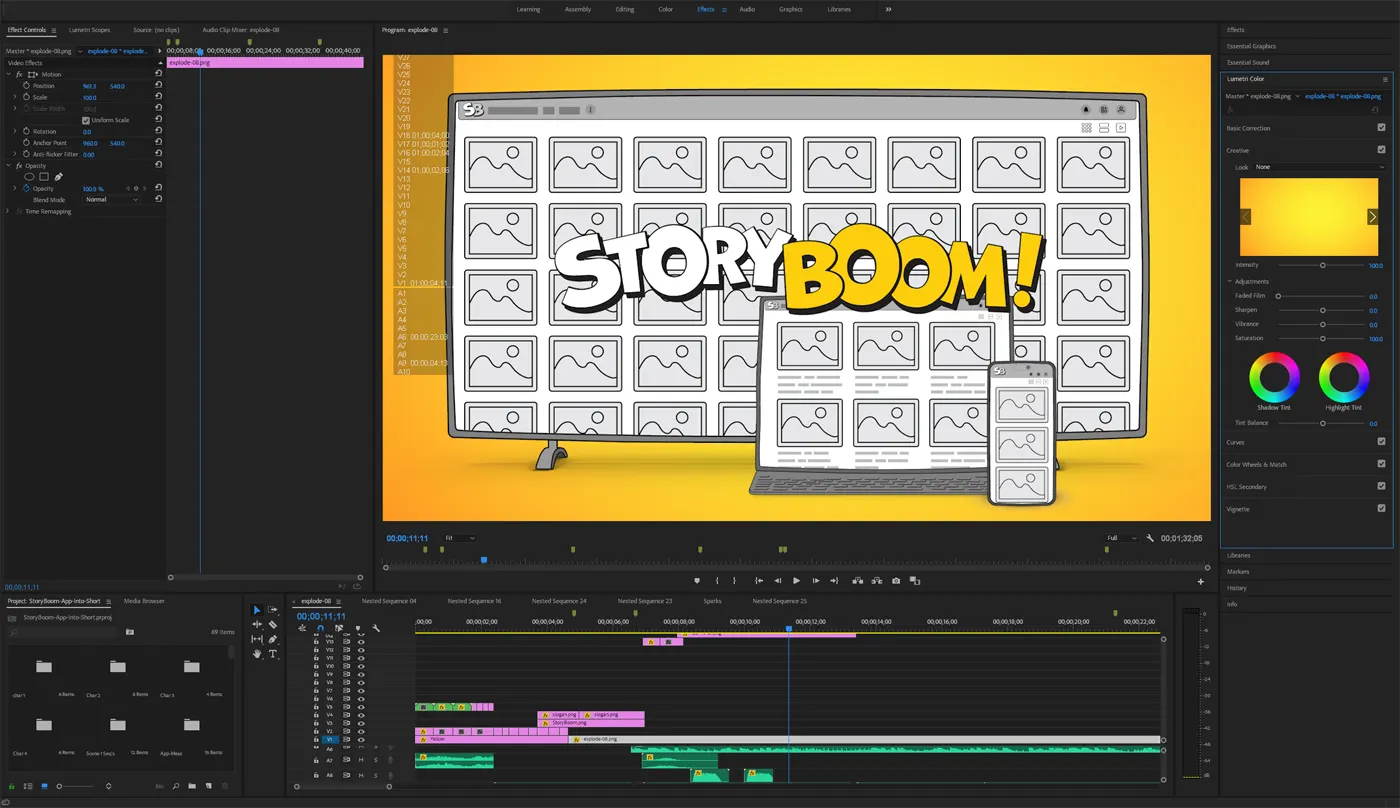
Diving into Adobe Premiere Pro was both exciting and intimidating—the multi-layered timeline, intricate transitions, and sheer number of tracks put my skills to the test. Microsoft Copilot quickly became my secret weapon. When I hit roadblocks, Copilot offered relevant production tips, like how to nest graphics for a reusable sparkle effect that saved hours in the timeline. (You’ll spot these as green blocks in the timeline screenshot.)
Animating the logo took a day, with audio enhancements adding the final polish. As for the rest: crafting, animating, and refining all 59 scenes—including voice and effects—took three days, with one more for tweaks and finishing touches. What once felt daunting—creating a professional voiceover—became simple with LogicBalls’ AI voice generator. ChatGPT continued as my script partner, helping write concise, energetic lines one sentence at a time for seamless narration integration. Premiere’s audio tools made sound placement almost effortless, and the audio process quickly became the most enjoyable stage, truly bringing the whole project to life.
StoryBoom’s tools streamlined my process, empowered me to storyboard efficiently and creatively:
These features made storyboarding fast and intuitive, and enjoyable—ideal for filmmakers, educators, and teams seeking dynamic visual workflows.
If you’re new to storyboarding, here’s what I learned:
Best of all, these tips—and StoryBoom’s robust features—are available free, transforming challenging projects into creative wins.
Taking this journey with StoryBoom sparked a genuine passion for video creation. Our 1-minute, 50-second intro video, uploaded to YouTube on May 7, 2025, earned 6,143 views by July 28, 2025. A shorter version—a 1-minute, 33-second final cut—was released on May 18, reached 6,853 views, and drove even more traffic to StoryBoom. Looking back, I realized that storyboarding fundamentally reshaped our creative process and ignited a wave of new projects for our team.
Beyond just changing the way we worked, StoryBoom empowered me personally—dispersing the fears that once held me back and proving that with the right tools and a bit of daring, anyone can bring ideas to life.
About StoryBoom: StoryBoom is a minimalist storyboarding app built for filmmakers, designers, educators, and teams. Enjoy real-time collaboration, flexible layouts, and a generous free plan—everything you need for fast, intuitive, and accessible visual storytelling.

Stay connected—follow StoryBoom on X or LinkedIn
Back to Blog